How to Install the Harness onto Harley Davidson Battery
To give your Harley-Davidson motorcycle battery a lifeline to a Harley-Davidson Battery Charger, you’re going to need a compatible harness. A battery charging harness simplifies charging the battery. In this video, you’ll learn how to install the harness onto your motorcycle battery. We hope this article’s How to Install the Harness onto Harley Davidson Battery will help you solve your problems.
We hope you find this post useful. If you have more time, check our shop for some Harley key cover. You can pick from a wide variety of patterns and colors in our items.
Introduction of Battery Accessories
Hey everyone, we are talking about dead batteries. They’re the absolute worst. You go to ride and boom. Nothing in order to avoid the terrible stomach-dropping feeling that comes with the discovery of a dead battery. You’ll need to keep your motorcycle’s battery connected to a charger when there are long periods between rides. To give your battery a Lifeline to a Harley-Davidson battery charger.
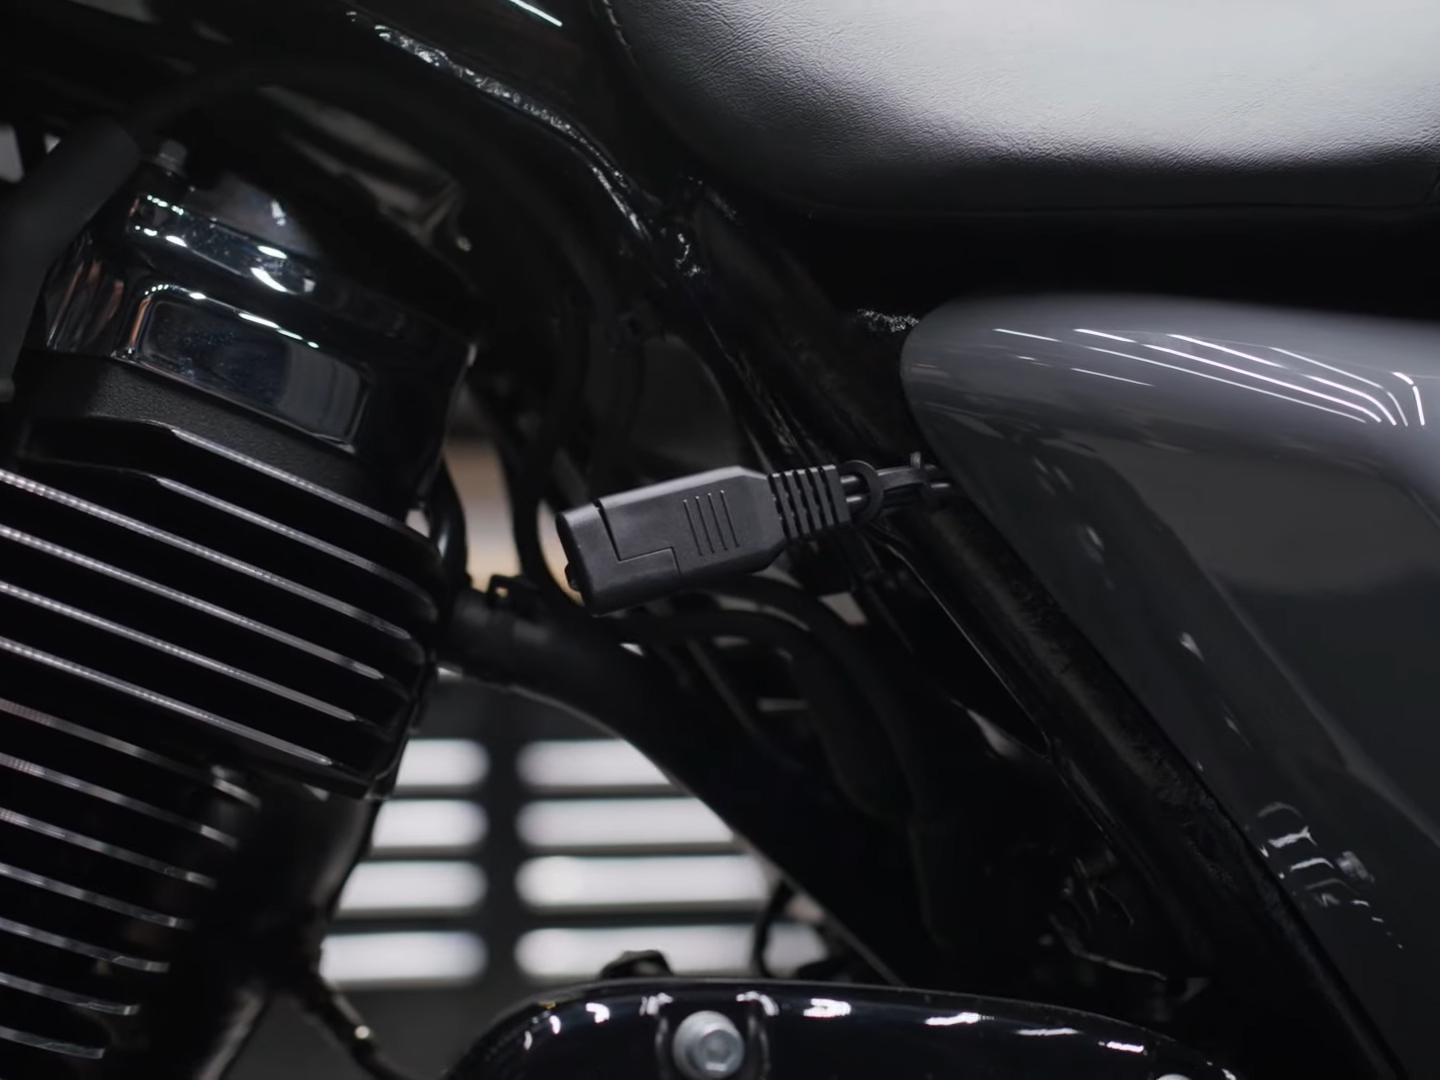
That’s equipped with a black connector. You’re going to need this compatible wiring harness. In this video, I’m going to show you how to install the harness onto your battery.
How to Install the Harness onto Harley Battery
First, these upcoming instructions are for a negative grounding system which is the most common. But if your motorcycle has a positive grounding system which is very uncommon you’re going to need to follow the instructions in Reverse.
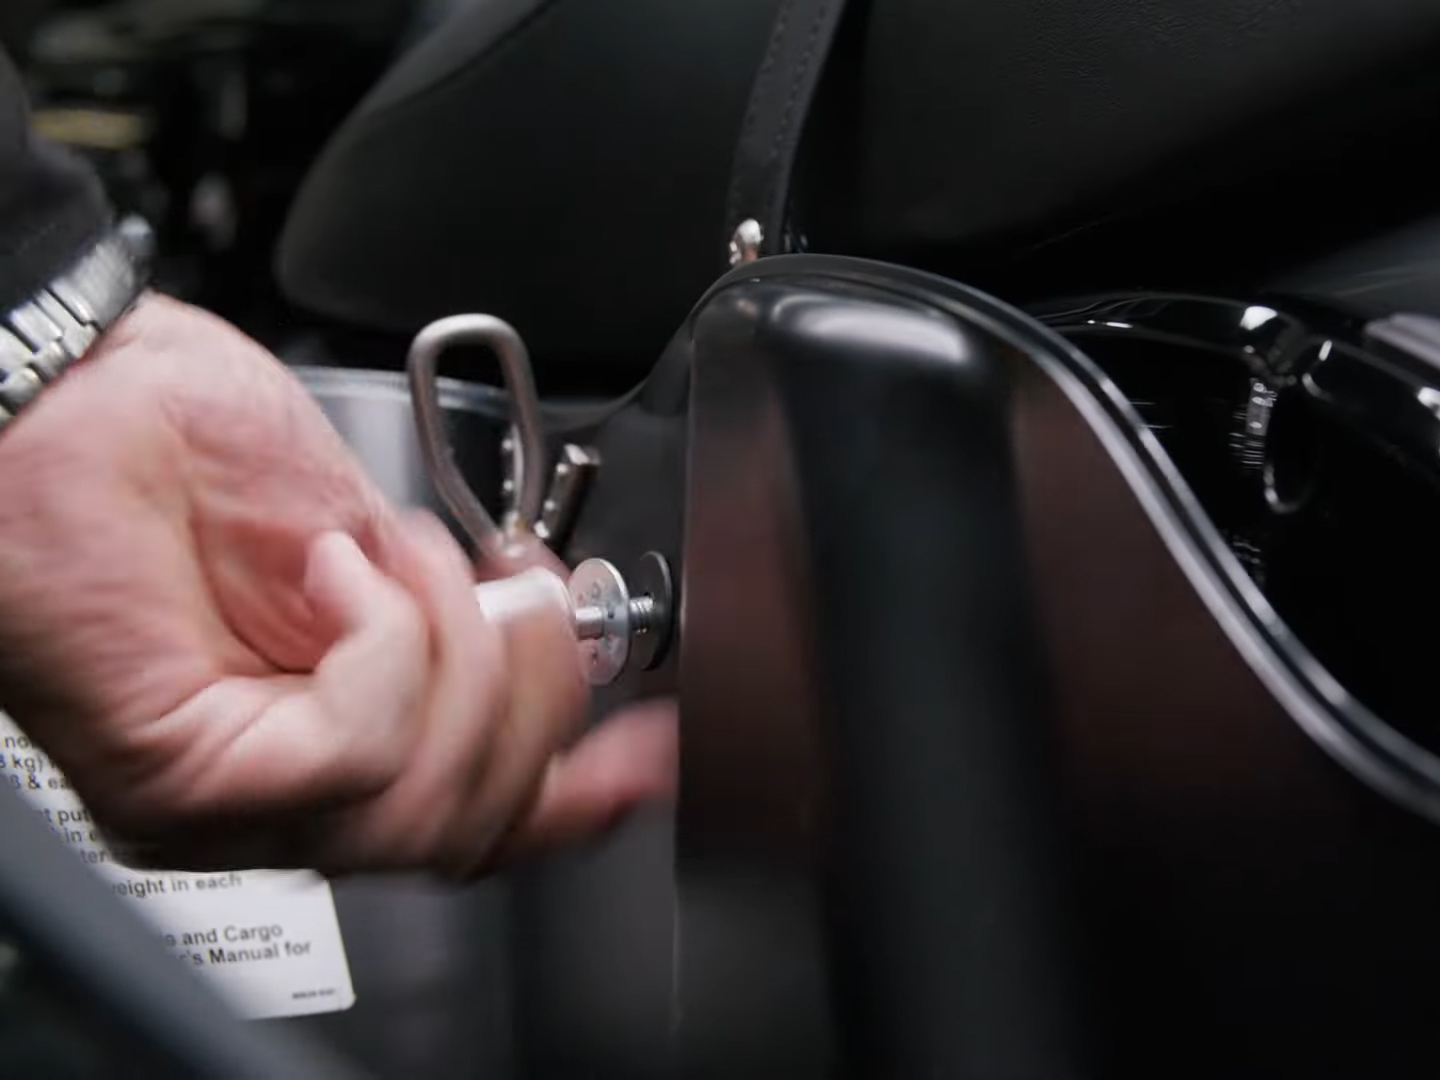
Okay so first up you’re going to remove any bags or anything that’s impeding in the way of getting underneath the seat. That’s where your battery’s at so you’re going to remove these saddle bags.
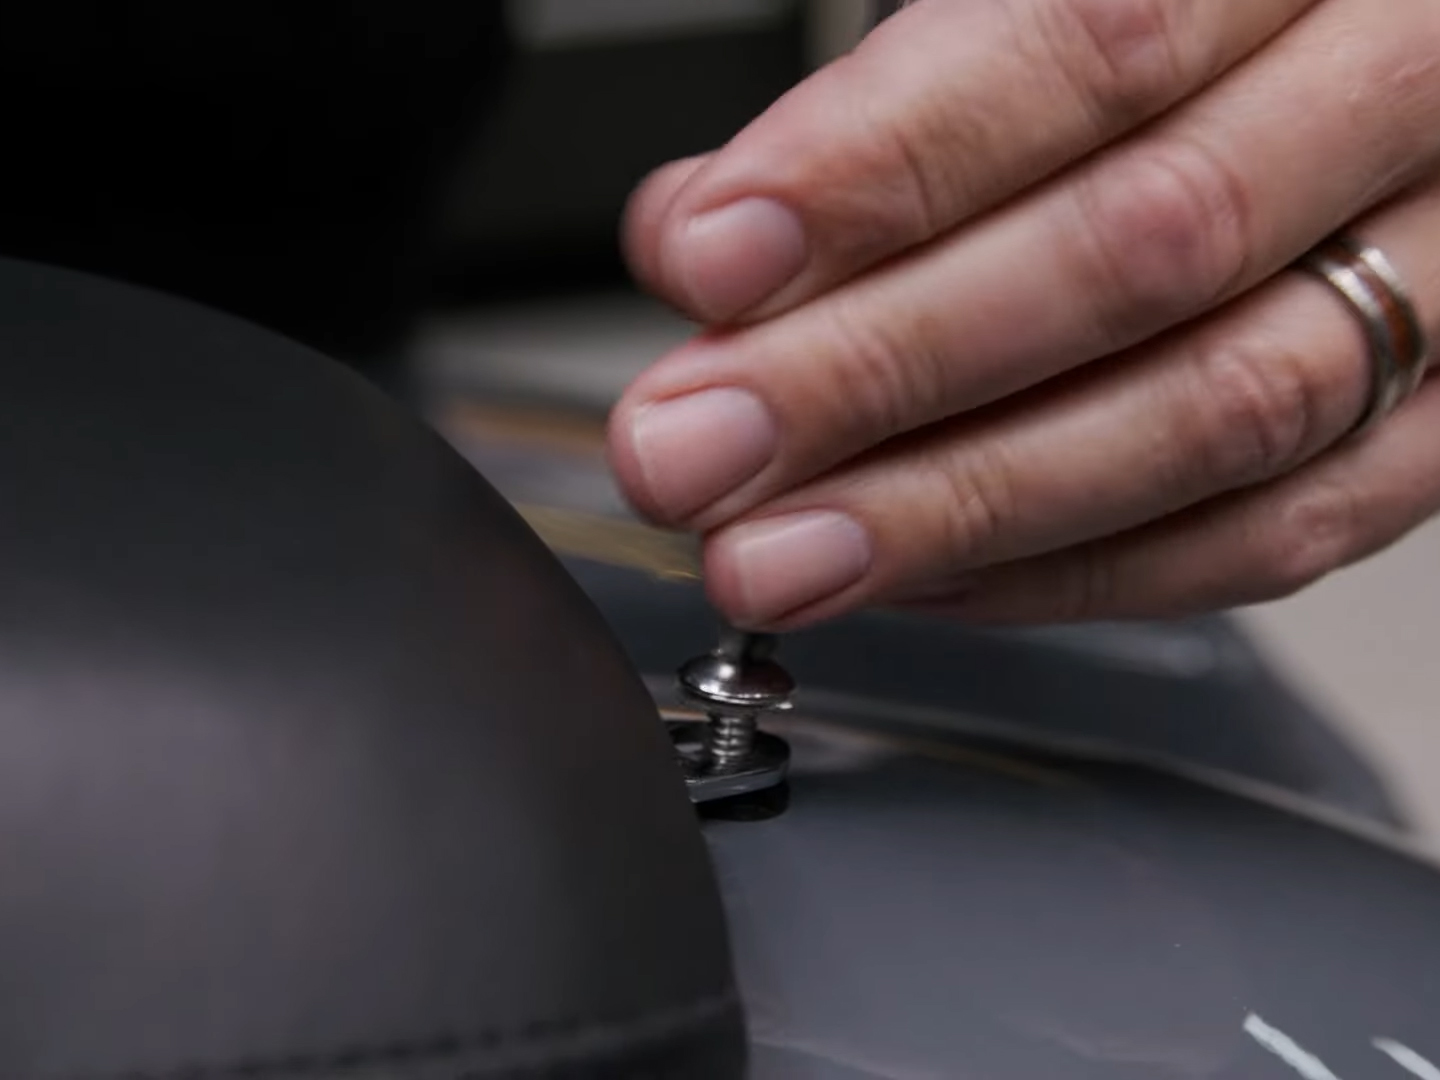
Next up you’ll remove the seat just like that access to here removing the strap. Now we have access to the battery in order to access the battery. You are going to need to remove some plates and some things to access it.
First, off got some torx bits holding down the battery utilizing the tank cover which is great so you protect your paint.
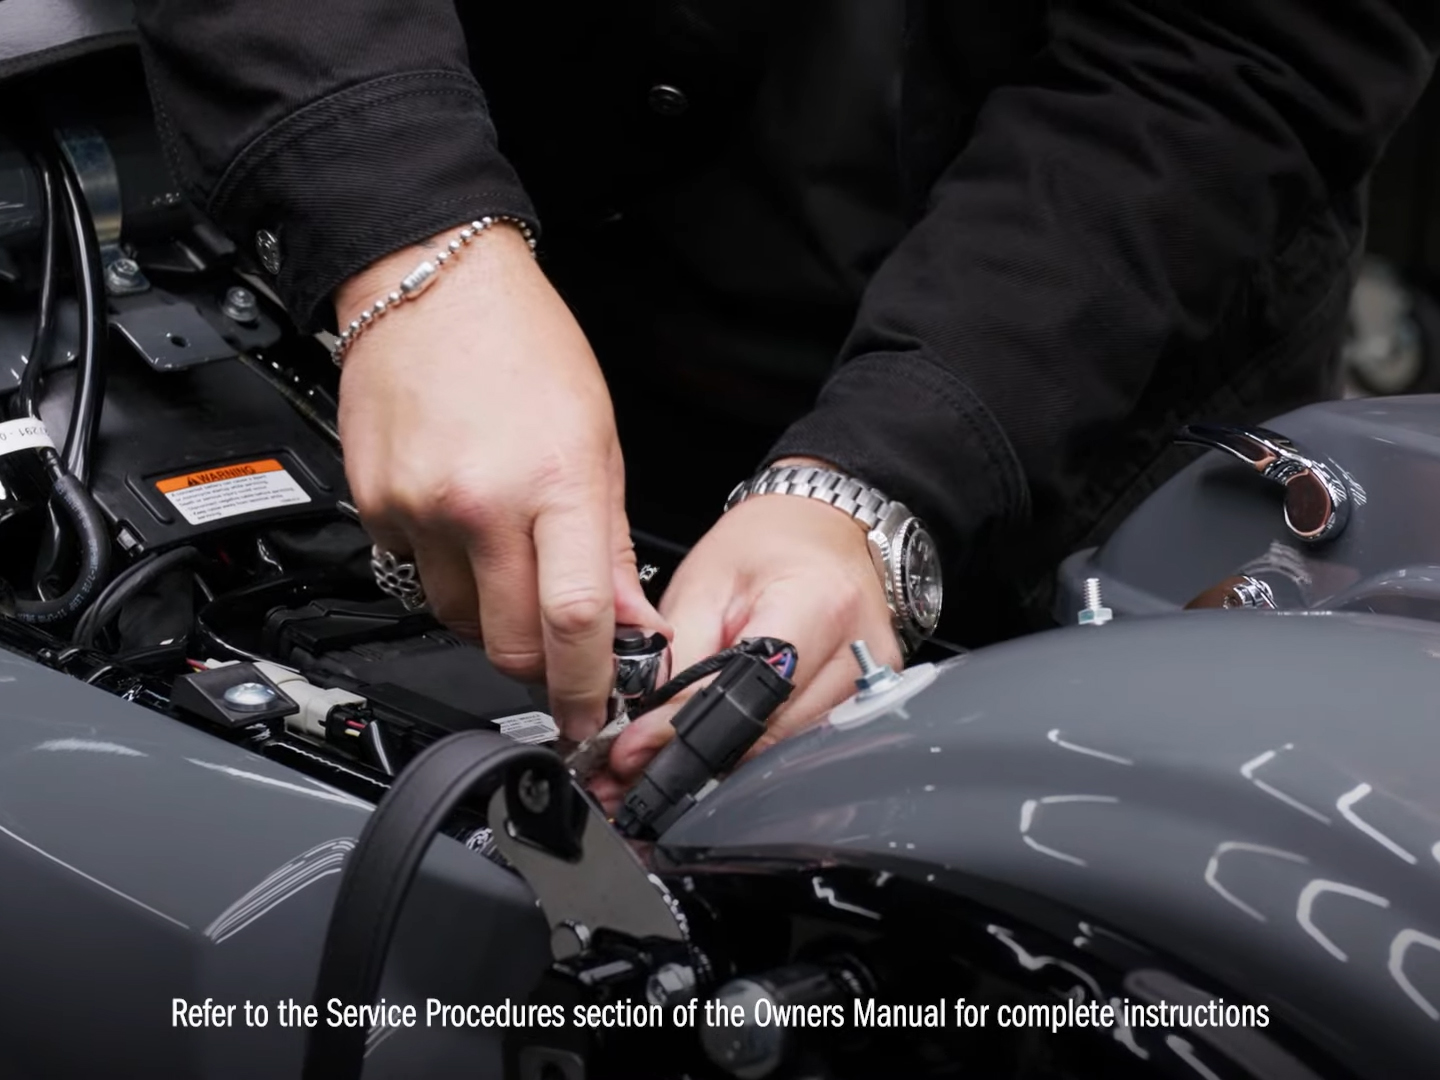
Now you can remove some connectors so remove those two Fasteners I’m going to slide these off and remove this module from the top and push that to the side.

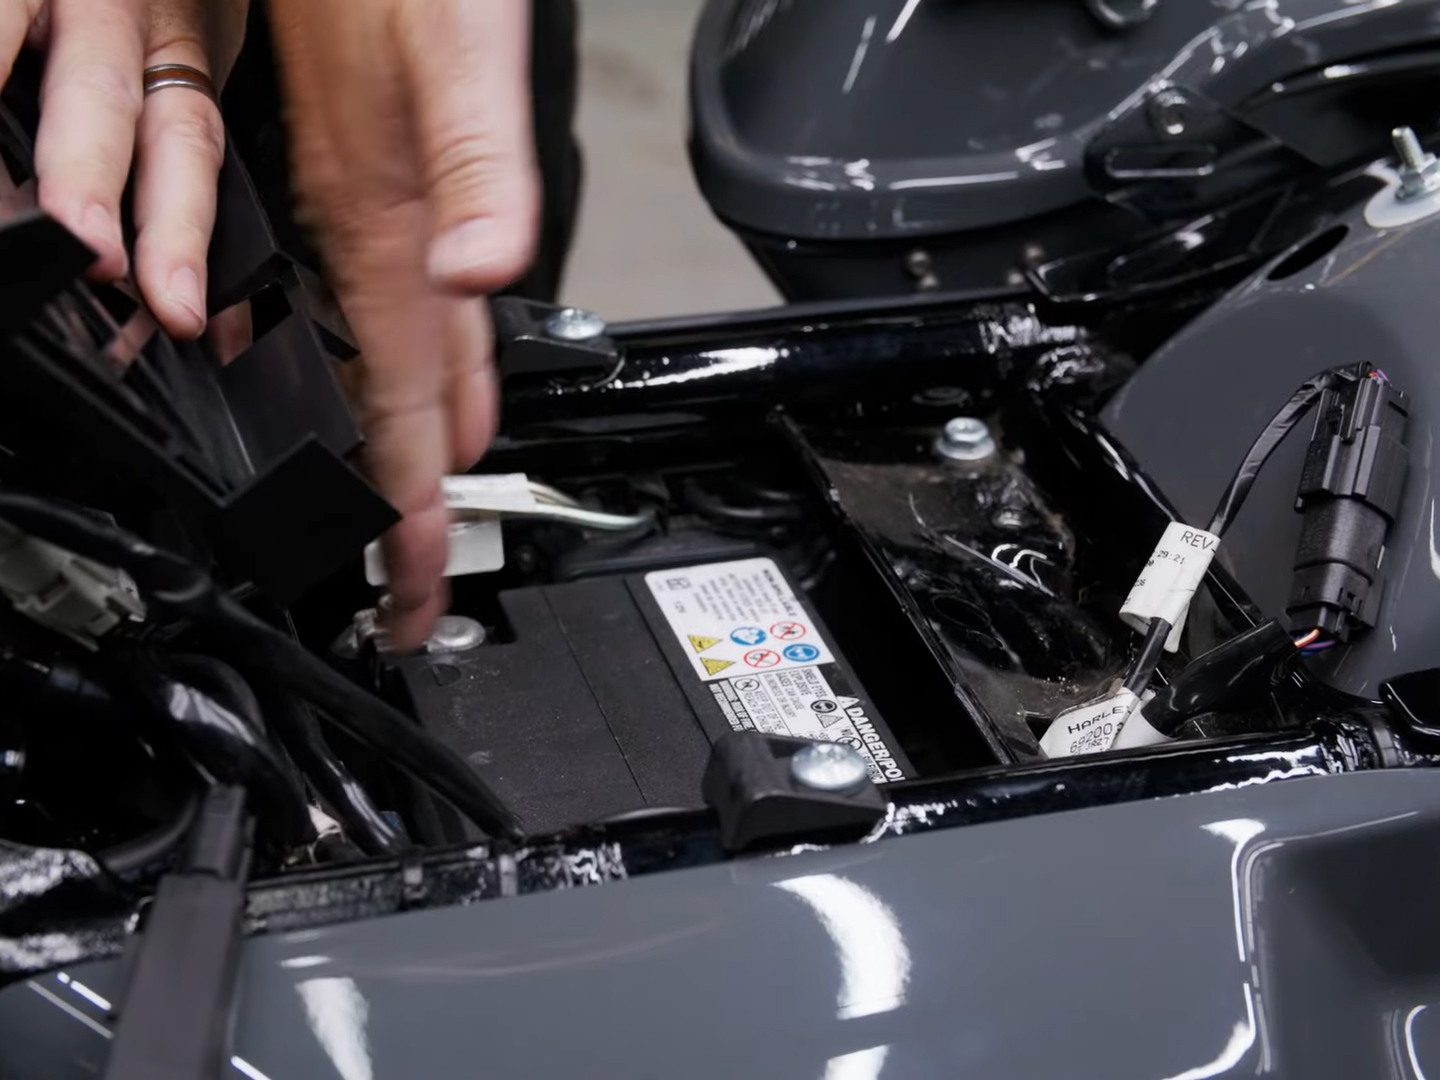
This tray can now be removed and you have access to your battery now that you have full access to your battery.
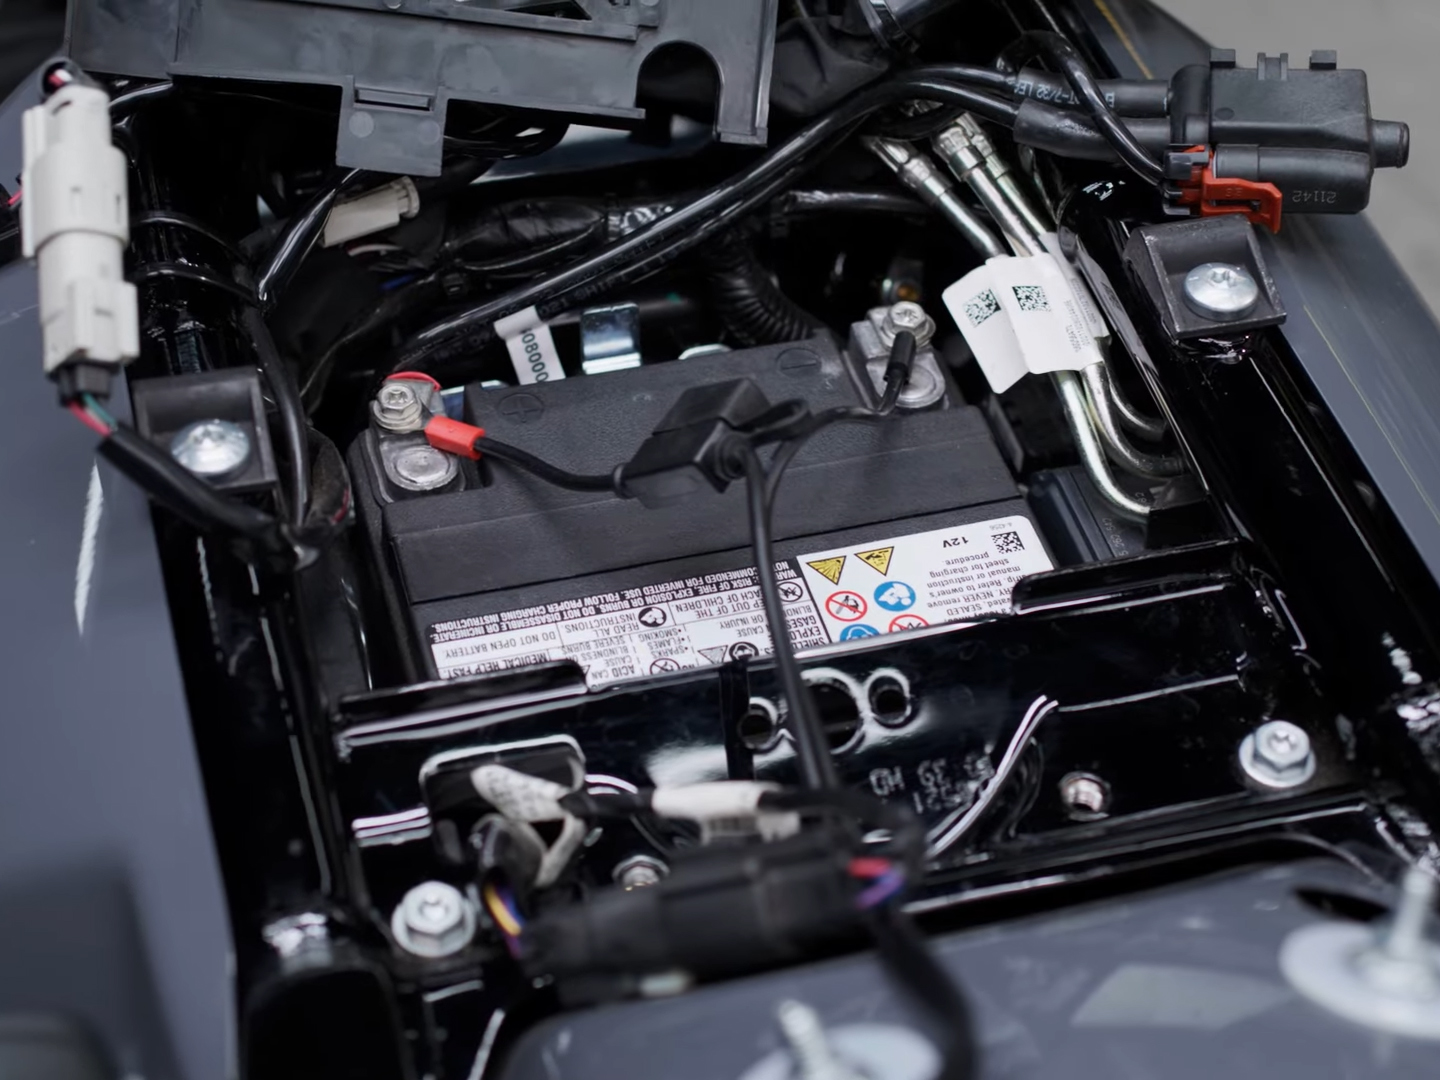
The first step you’re going to do is to connect the positive or the red eyelet to the terminal connector. The positive side of the battery and then you’re going to follow it up remove the Fastener and put the negative or the black eyelet terminal connector. To the negative battery terminal as simple as that let’s go ahead and again loosen those Fasteners and attach it.
Have some Notes for this Terms
Once it’s connected you do have this pigtail right. Here, that’s your connector so wherever you feel comfortable go ahead and kick it out underneath the seat. Maybe put it under cover or wherever you feel comfortable where you have easy access to it. It’s as simple as that it’s fairly simple process especially. If you are familiar with the basic battery maintenance for this.
More following to other related posts:
See more:


Leather1993 store do not sell only Harley Remote Key cover but we also provide a lot of key remote cover. Hope the above article helped you understand more about How to Install the Harness onto Harley Davidson Battery. Please leave your comments below the comment section. Feel free to contact us for more information!
 How to use Volkswagen Remote Start key – Step-by-Step Guide
 How to Connect Volkswagen with Android Auto – Completely Guide
 How to Connect Apple CarPlay with Volkswagen – Full Guide for iPhone Users
 Pairing Bluetooth with Volkswagen – A Simple Guide
 How to Recall Chevrolet Memory Seats in Settings – Advanced Tips
 Chevrolet Automatic Climate Control – What It Does & How to Use It