Installing a Lithium LiFe Battery for Harley – Faster, Lighter, Smarter
To give your Harley-Davidson motorcycle battery a lifeline to a Harley-Davidson Battery Charger, you’re going to need a compatible harness. A battery charging harness simplifies charging the battery. In this video, you’ll learn how to install the harness onto your motorcycle battery. We hope this article’s How to Install Lithium LiFe Battery for Harley-Davidson will have you solve your problems.
We hope you find this post useful. If you have more time, check our shop for some Harley Davidson key case. You can pick from various patterns and colors in our items.
Introduction
Today I will show you how to upgrade your Touring bike from the OE battery to a new Harley-Davidson lithium-life battery. These are significantly lighter and have up to twice the lifespan of AGM lead batteries stick around and I’ll show you how easy it is to install.
These Harley-Davidson lithium-life batteries offer unequaled cranking power and a significant weight reduction over their AGM lead acid counterparts. All right now, we’ve talked about the product let me show you how to install it as these are drop-in Replacements. So they’re designed to fit seamlessly no fit adapters or foam blocks are necessary.
Battery Removal
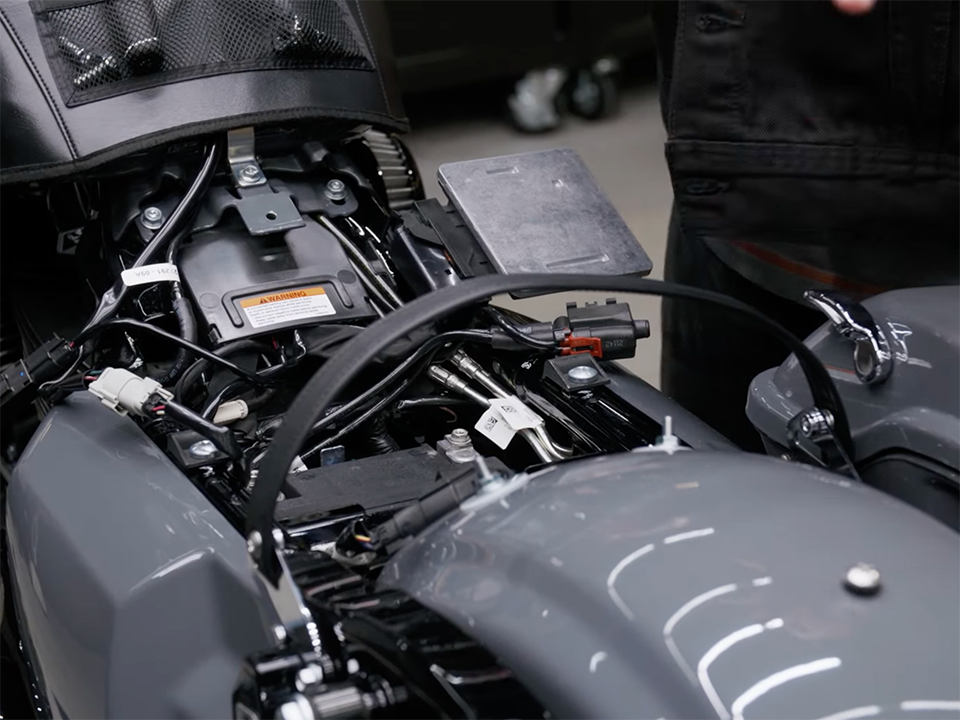
See my Street Glide Special here. I’ve already taken off any necessary components to gain access to the battery. Taking off the saddle bag taken off the seat remove that so the handle kicks over to the side I’ve actually already removed the tray that holds the battery down and loosens any connections that the harness has on here.
Battery Access
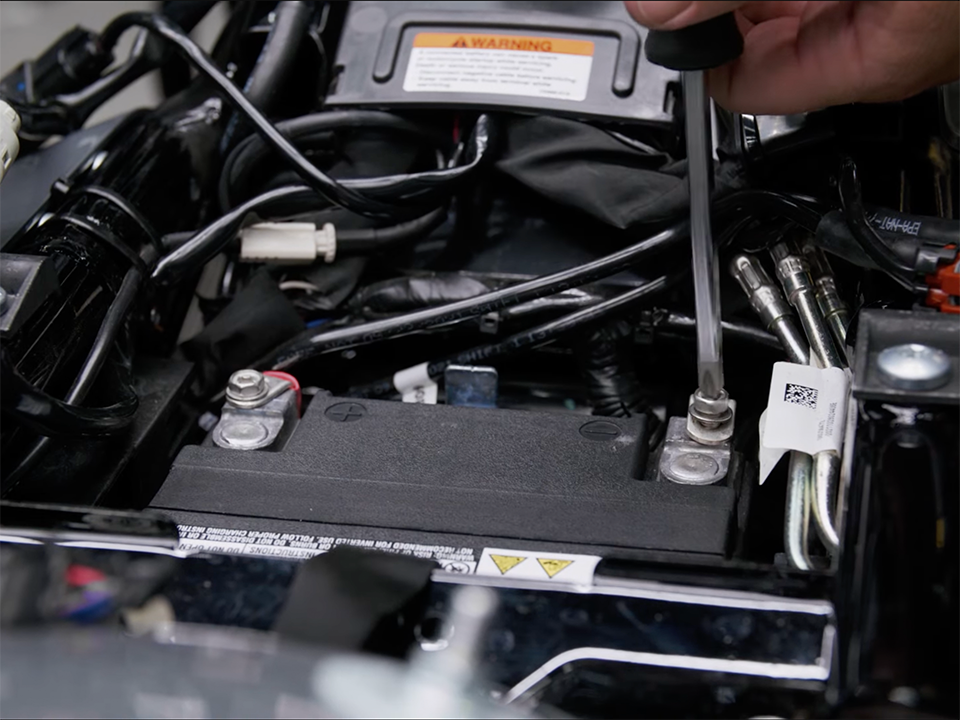
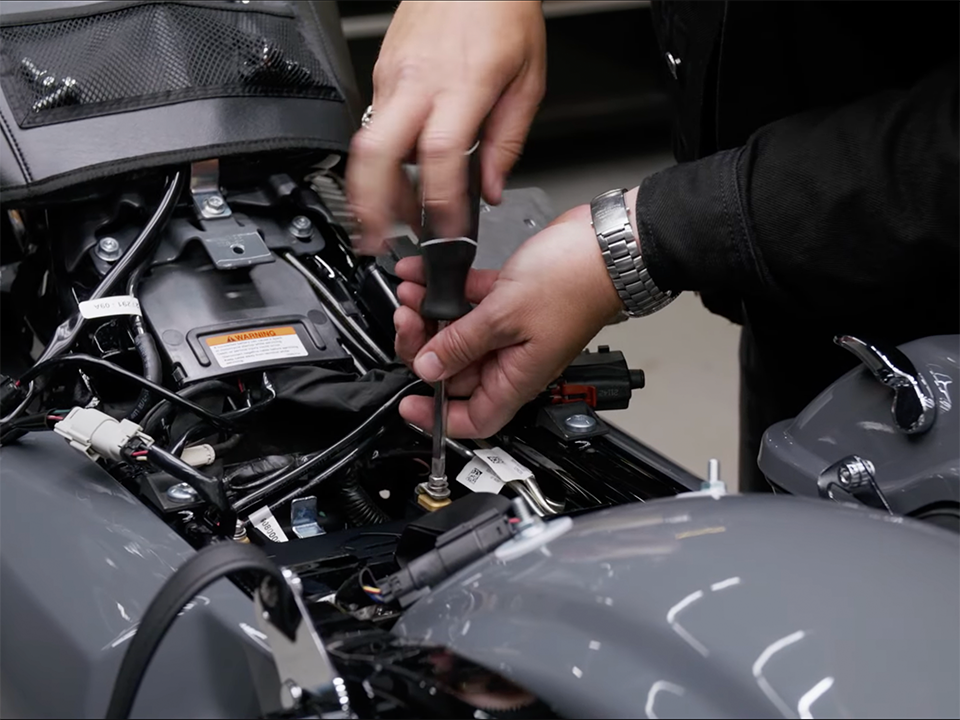
So now we’ve gained access to the battery is pretty straightforward. You have your positive and your negative terminal. You’re going to remove those fasteners that attach the connectors to the battery go negative then positive.
Tank Cover
I’m also using the genuine Harley-Davidson tank cover so I don’t cause any damage also put your Fasteners in there any tools. There’s a strap that’s actually going underneath the battery. And that will help you easily lift that OE battery now feel how heavy this is compared to.
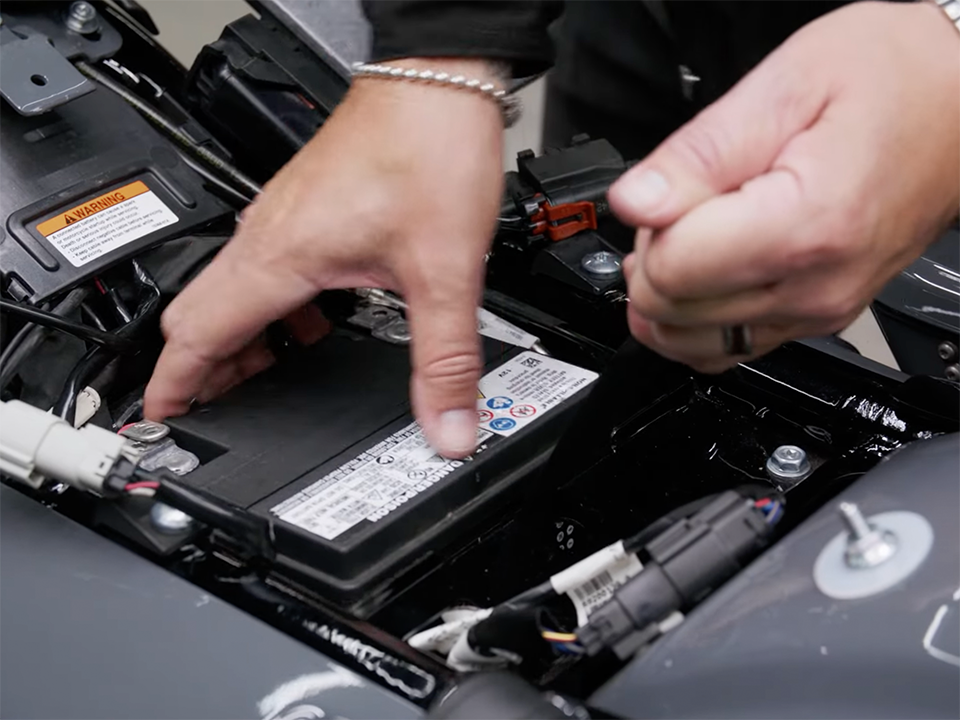
Battery Installation
Look at that the lithium super light compared to the OE now. As far as installation goes see the positive see the negative. Put it right back in to where it was you got to.
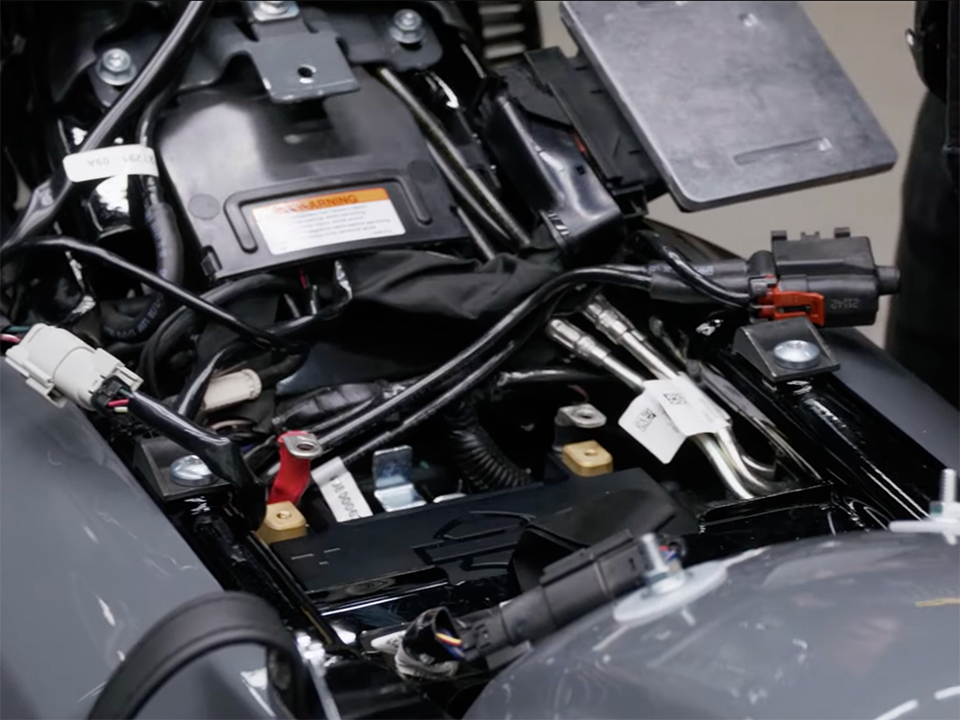
Keep in mind, this is genuine Harley-Davidson parts. So it’s got that OE fit take your fastener your positive side connect that. First, be sure not to over-tighten causing damage to the threads so positive first.
Then do negative there you have it we’ll button this thing back up put the seat on and you’re ready to ride. And just so you know the internal solid-state battery management system automatically detects under-charging.
More following to other related posts:
See more:


Leather1993 store do not sell only Harley Remote Key cover but we also provide a lot of key remote shell. Hope the above article helped you understand more about How to Install Lithium LiFe Battery for Harley-Davidson. Please leave your comments below the comment section. Feel free to contact us for more information!
 How to use Volkswagen Remote Start key – Step-by-Step Guide
 How to Connect Volkswagen with Android Auto – Completely Guide
 How to Connect Apple CarPlay with Volkswagen – Full Guide for iPhone Users
 Pairing Bluetooth with Volkswagen – A Simple Guide
 How to Recall Chevrolet Memory Seats in Settings – Advanced Tips
 Chevrolet Automatic Climate Control – What It Does & How to Use It